A Step-by-Step Guide on How to Grow Butternut Squash From Fresh Seeds
Published: 11 Apr 2024
As a gardening enthusiast, I appreciate the joys and challenges of growing vegetables in my backyard. With its sweet, nutty flavor and versatile culinary uses, butternut squash is one of my favorite crops to cultivate. In this comprehensive guide, I’ll share my experience and knowledge on how to grow butternut squash from seeds, ensuring you can enjoy a bountiful harvest.

Introduction How to Grow Butternut Squash
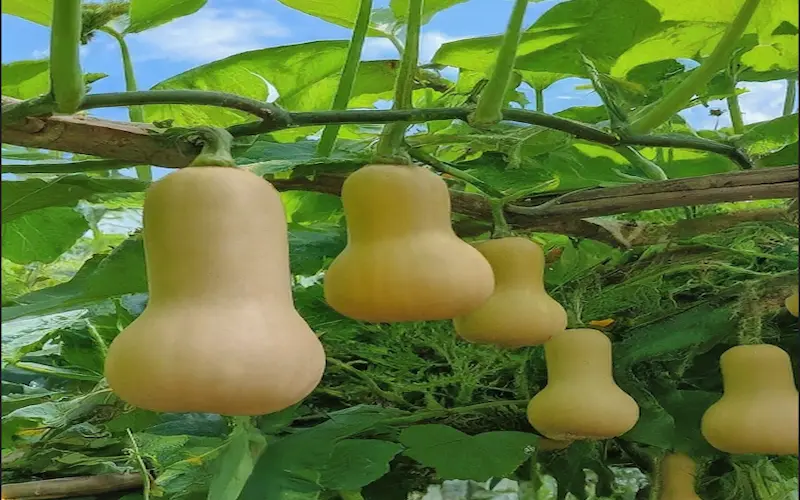
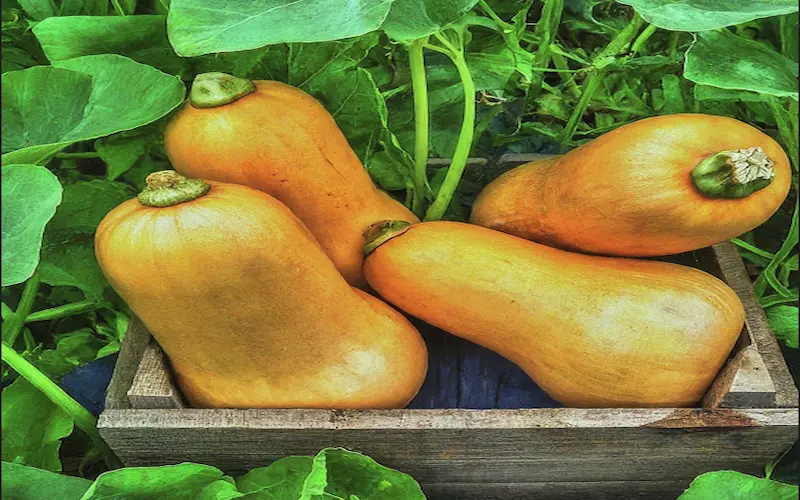
Before diving into the specifics, let’s discuss what makes butternut squash a rewarding growing plant. This winter squash variety boasts a bell shape with a creamy beige exterior and orange fleshy pulp. It’s delicious, great for various recipes, and packed with vitamins, minerals, and fiber.
Growing butternut squash in your garden allows you to control the growing conditions and avoid the pesticides commonly used in commercial agriculture. Plus, there’s nothing quite like the fulfillment of harvesting vegetables you’ve nurtured from seed to fruit.
Understanding the Requirements of Butternut Squash
To successfully grow butternut squash, one must first understand its needs. Butternut squash is a warm-season crop that requires plenty of sunlight, warmth, and a relatively long growing season. Plants are typically grown from seeds and can sprawl quite extensively, so space is crucial.
They prefer well-draining, fertile soil with a pH between 6.0 and 6.8. Consistent watering is important, especially during the fruiting stage, while too much moisture can lead to diseases. Understanding these requirements is pivotal before you begin planting.
Selecting the Right Location
Choosing the ideal spot in your garden can significantly impact the success of your butternut squash plants. Select the area that receives at least 5 to 7 hours of direct sunlight daily. This ensures the plants get the warmth and energy needed to thrive.
The location should also provide ample space for the vines to spread out. Each plant can take up to 50 square feet, so plan accordingly. Adequate spacing promotes good air circulation, which helps prevent fungal infections. Lastly, consider the ease of access for maintenance and harvesting when selecting your site.
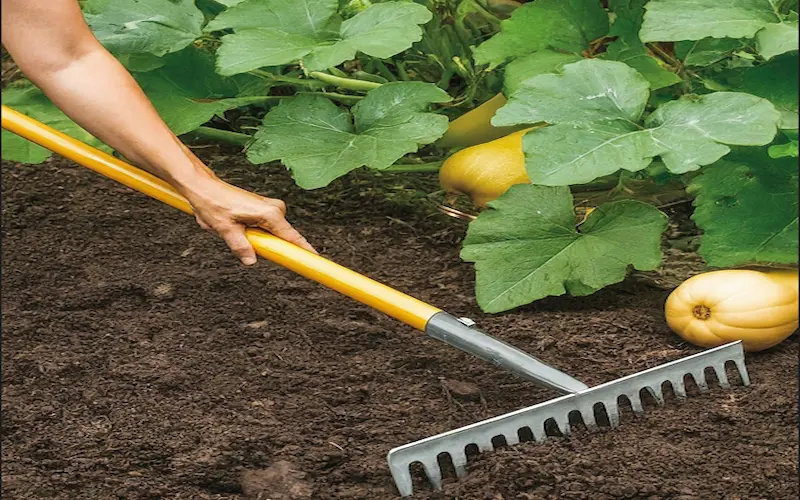
Preparing the Soil for Butternut Squash Cultivation
Soil preparation is a critical step in how to grow butternut squash. Start by loosening the soil to about 11 inches for proper root growth. I like to enrich the soil by mixing in a generous amount of compost or well-rotted manure, which provides the necessary nutrients and improves soil structure.
If your soil is heavy clay or too sandy, consider amending it with organic matter to improve drainage and water retention. You can also have a soil test done to determine the specific needs of your soil and amend it accordingly. Lastly, ensure the soil is leveled and free from debris that could hinder plant development.
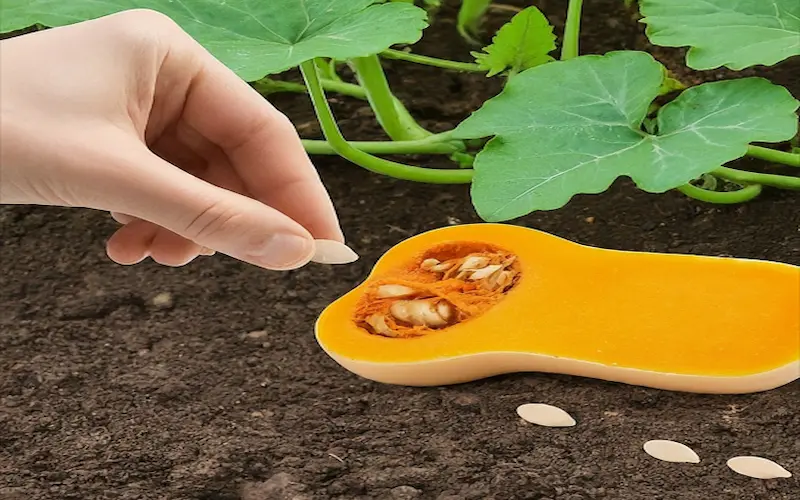
Planting Butternut Squash Seeds
Now, how to grow butternut squash from seeds? Plant the seed when all danger of frost has passed, and the soil has warmed to at least 65°F (18°C). Plant the seeds about an inch deep, in groups of 3 or 4, spaced about 18 inches apart in rows or hills. Hills help improve drainage and can warm the soil faster.
Water the seeds gently but thoroughly after planting. It usually takes 7 to 10 days for the seeds to germinate. Once the seedlings emerge and grow their first true leaves, thin them out to the strongest plant in each group to prevent overcrowding.
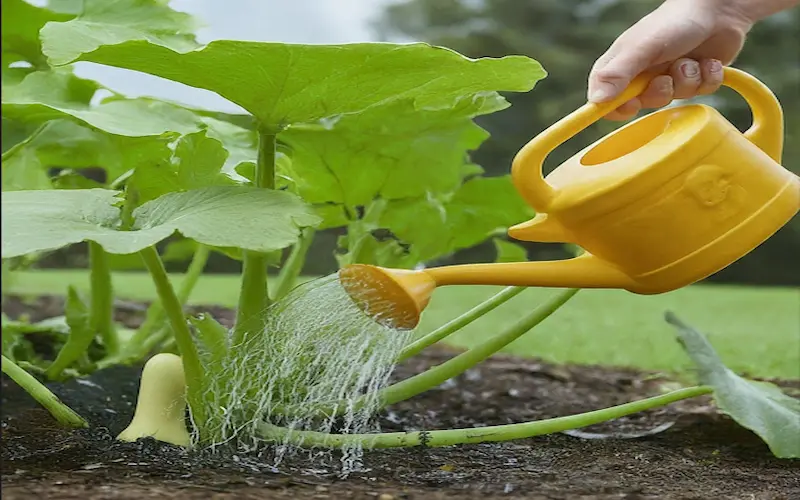
Caring for Butternut Squash Plants
Proper care is vital for robust butternut squash plants. They need regular watering, especially during dry spells. I aim for about an inch of water per week from rainfall or irrigation. Overhead watering should be avoided to reduce the risk of leaf diseases; drip irrigation or soaker hoses are ideal.
Mulching with straw or organic material can help conserve moisture, suppress weeds, and maintain an even soil temperature. Fertilizing is also necessary; I use a balanced fertilizer when the plants are about 6 inches tall and again when the flowers begin to form.
Regularly check for signs of stress or nutrient deficiencies and address them promptly. Training the vines onto a trellis can save space and keep fruit off the ground, reducing the risk of rot and pest infestation.
Dealing with Common Pests and Diseases in Butternut Squash
Butternut squash plants can be susceptible to pests like bugs, vine borers, and cucumber beetles. Regularly inspect your plants for signs of these pests and manage them through hand-picking, organic pesticides, or encouraging beneficial insects.
Fungal diseases such as powdery mildew and downy mildew are also common. To mitigate these, ensure adequate spacing for air circulation, practice crop rotation, and remove infected plant material promptly. If necessary, apply fungicides according to the label instructions.
Harvesting and Storing Butternut Squash
Knowing when to harvest butternut squash is key to enjoying its best flavor and texture. Look for a hard, dull rind and a deep tan color. The stem should also be dry and corky. Cut the squash from the vine with a sharp knife, leaving a few inches of stem attached.
Cure the squash in the sun for about ten days to toughen the skin, then store them in a cool, dry place where temperatures range from 50 to 55°F (10 to 13°C). Properly cured and stored, butternut squash can last for several months.
Tips for Successfully Growing Butternut Squash
Here are some additional tips I’ve found useful in growing butternut squash:
1. Start seeds indoors in peat pots a few weeks before the last frost to get a head start on the season.
2. Use row covers to protect young plants from pests and cold temperatures.
3. Plant companion planting with crops like marigolds or nasturtiums to naturally deter pests.
4. Prune excess growth to direct the plant’s energy into fruit production.
5. Be patient – butternut squash takes time to mature, so don’t rush the process.
Conclusion
Growing butternut squash can be a delightful and rewarding endeavor for any gardener. By following the steps on how to grow butternut squash from soil preparation to harvesting, you’ll be equipped with the knowledge to nurture these plants to fruition. Remember to be attentive to their needs, address issues promptly, and, most importantly, enjoy the process.
As you embark on your journey of growing butternut squash, I encourage you to share your experiences and successes. Gardening is a continuous learning process, and each season brings new insights. So, grab your gardening gloves, and let’s get planting!


- Be Respectful
- Stay Relevant
- Stay Positive
- True Feedback
- Encourage Discussion
- Avoid Spamming
- No Fake News
- Don't Copy-Paste
- No Personal Attacks
- Be Respectful
- Stay Relevant
- Stay Positive
- True Feedback
- Encourage Discussion
- Avoid Spamming
- No Fake News
- Don't Copy-Paste
- No Personal Attacks
