Growing Artichokes: How to Plant Grow Care and Harvesting For
Published: 30 Apr 2024
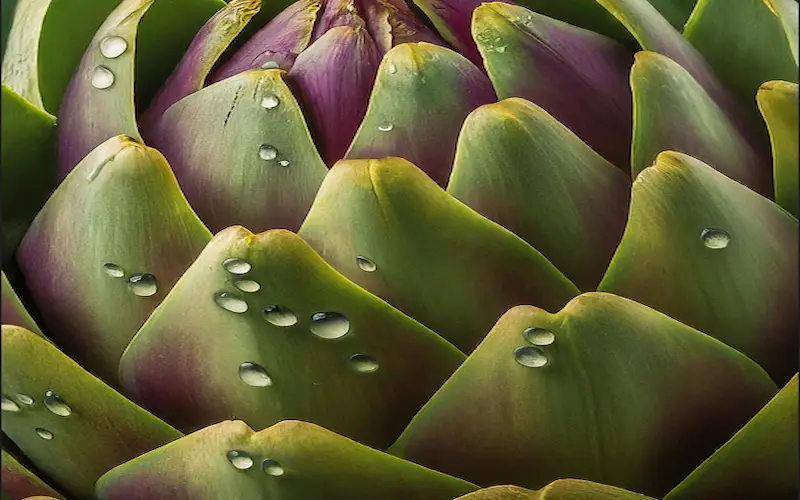
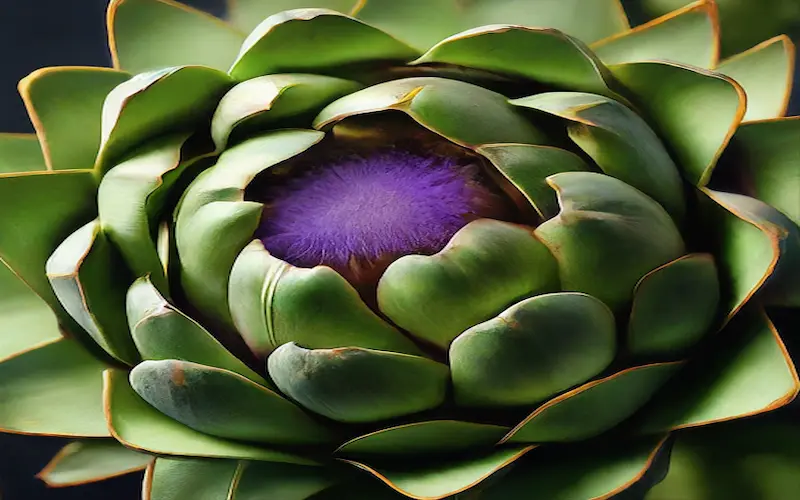
What is an Artichoke?
An artichoke is a thorny, immature fruit of a member of the asterace family, commonly the green thistle (Carduus spp.). It grows on a tall, perennial herb and is harvested as a vegetable. Several varieties of artichokes are consumed raw or cooked, usually roasted or grilled.
Artichokes are a good source of fibre, vitamin C, and antioxidants. Originating from the Mediterranean region, the artichoke is known scientifically as Cynara scolymus. In this guide, I explore the secrets of growing artichokes, including planting, growing, caring, and harvesting easily.
Introduction to Growing Artichokes
Artichokes are typically grown as perennials in warmer climates (USDA Hardiness Zones 7-11) and as annuals in more excellent areas. Growing artichokes take up to two years for the plants to reach maturity and produce the large buds harvested.
However, with careful planning and maintenance, gardeners can enjoy these plants’ architectural beauty and delicious produce season after season.
| Benefits of Growing Your Artichokes |
|---|
There are many benefits to growing your artichokes.
|
Understanding Artichoke Seeds and When to Plant Them
Artichokes Seeds
Artichoke seeds are the starting point for growing your plants; understanding the best practices for planting them is essential. The seeds are small, rough, and typically brown or black. They are encased within the flower heads and can be harvested from existing plants or purchased from a reputable seed supplier.
Artichokes Season
The timing of planting artichoke seeds is crucial for successful germination and growth. The seeds should be sown indoors around eight weeks before the last frost date if you live in a region with cold winters. This head start allows the seedlings to develop in a controlled environment before being transplanted outdoors when the soil has warmed sufficiently.
In warmer climates where artichokes can be grown as perennials, seeds can be planted directly into the garden in the fall or early spring. The mild temperatures of these seasons promote optimal germination and root development, setting the stage for robust plant growth.
Choosing the Right Location for Your Artichoke Plants
Selecting an appropriate area is a more critical step in how to plant artichoke seeds. Artichokes thrive in full sun, requiring at least six hours of direct sunlight daily. The chosen spot should also provide ample space, as artichoke plants can spread out quite a bit. Each plant may need up to 4 feet of space in each direction to accommodate its growth.
Additionally, artichokes prefer a well-drained location. Soggy soil can lead to root rot and other diseases, so finding or creating an area where water does not accumulate is essential. If drainage is a concern in your garden, consider raising the planting beds or adding amendments like sand or organic matter to improve soil structure.
Finally, consider the aesthetic aspect of where your artichoke plants will reside. Due to their size and attractive appearance, they can serve as an impressive backdrop for lower-growing plants or be used as a standalone feature within a garden design. Their architectural quality and silvery foliage make them highly versatile in landscape planning.
Soil Preparation
Soil preparation is a foundational task that contributes to the overall success of your artichoke crop. Artichokes prefer rich, loamy soil with good drainage and a pH between 6.5 and 7.5. To prepare the soil, start by clearing the area of weeds and debris, which can compete with your artichokes for nutrients and water.
Next, work the soil to a depth of at least 8 inches, loosening it to facilitate root penetration. Adding organic matter like compost or well-rotted manure will enrich the soil, providing the necessary nutrients for the plants to flourish. A balanced, slow-release fertilizer can also be incorporated at this stage to ensure a steady supply of essential nutrients.
Testing the soil pH is advisable; adjustments can be made if the pH is outside the optimal range. Lime can be added to increase the pH, while sulfur can lower it. Ensuring the soil is adequately prepared before planting will give your artichoke seeds the best chance to develop into vigorous, productive plants.
Planting Artichoke Seeds
Precision and care will lead to the best outcomes when planting artichoke seeds. Begin by filling seed trays or small pots with a high-quality seed starting mix. Moisten the mix and sow the artichoke seeds at a depth of about a quarter-inch, covering them lightly with soil. Space the seeds a couple of inches apart to allow the seedlings to grow.
Place the seed trays or pots in a warm area with temperatures between 70-80 degrees Fahrenheit to encourage germination. Using a heat mat can help maintain consistent soil temperatures, which is particularly beneficial in cooler climates. Keep the soil moist but not waterlogged, as excessive moisture can lead to fungal issues.
Once the seedlings have emerged and developed their first proper set of leaves, they can be thinned to prevent overcrowding. Choose the most vigorous seedlings to keep and gently remove the rest.
When the seedlings have grown to about 4-6 inches tall and have several sets of leaves, they are ready to be hardened off. This process involves gradually introducing them to outdoor conditions over a week to acclimate them before transplanting them into the garden.
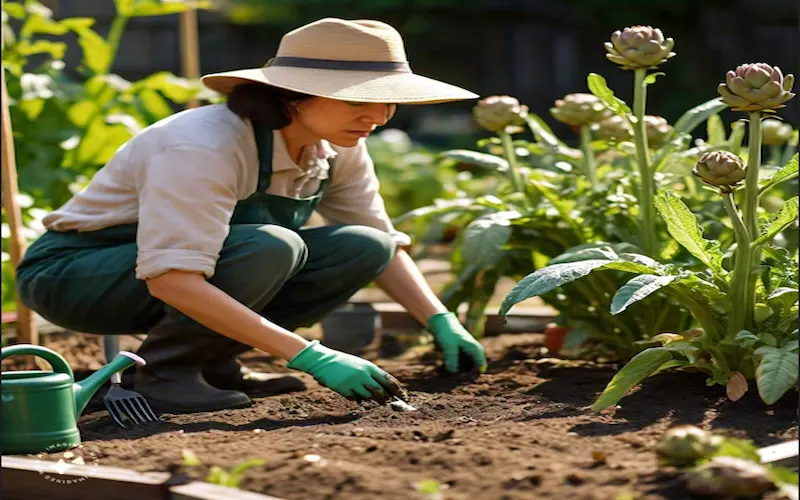
Caring for Artichoke Plants – Watering, Fertilizing, and Pest Control
After transplanting artichoke seedlings into the garden, consistent care is critical to their growth and productivity.
Watering is one of the most crucial aspects, as artichokes have deep roots that require a steady moisture supply. Aim for about 1 to 1.5 inches of water per week from rainfall or supplemental watering. Ensure the soil is moist but not saturated, as overwatering can be detrimental.
Fertilizing artichoke plants is another important aspect of their care. Use a balanced fertilizer to provide a broad spectrum of nutrients, or opt for a higher phosphorus and potassium formulation to encourage firm root and bud development. Apply the fertilizer according to the package instructions, usually every few weeks during the growing season.
Pest control is also a consideration when growing artichokes. Common pests include aphids, slugs, and artichoke plume moths. Regularly inspect your plants for signs of infestation, and employ organic control measures if necessary. For example, a strong water spray can dislodge aphids, and handpicking can effectively manage slug populations. If you need to use pesticides, choose organic options that are less harmful to beneficial insects and the environment.
Pruning and Staking
Maintenance practices such as pruning and staking become necessary as your artichoke plants mature. Pruning helps to direct the plant’s energy into producing large, high-quality buds and can also improve air circulation, reducing the risk of disease. Remove any dead or damaged foliage and small or weak buds that develop on the lower part of the stalks.
Staking may be required for artichoke plants, as their tall growth and heavy buds can cause the stems to bend or break. Sturdy stakes or cages to support the plants will ensure they remain upright and the buds are kept off the ground, preventing rot and pest damage.
Additionally, after the first harvest, cut back the plant to promote a second, albeit smaller, flush of buds. This technique, known as “deadheading,” can extend the productive life of your artichoke plants and increase your overall yield.
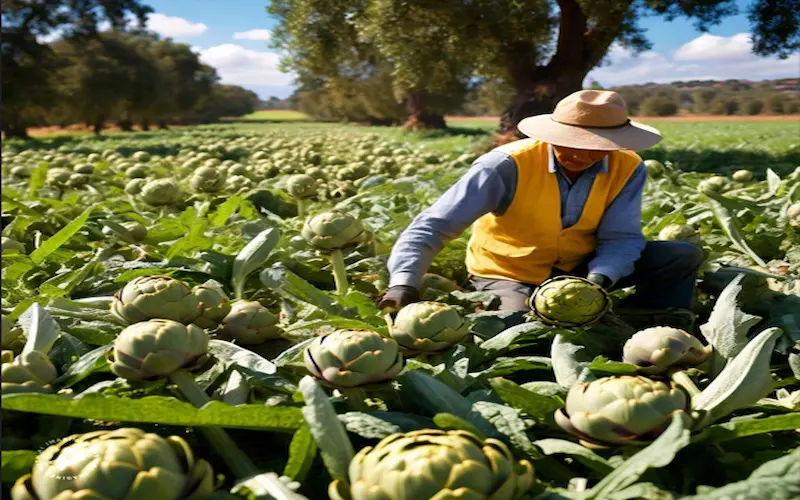
Harvesting
Knowing when to harvest artichokes is crucial for enjoying them at their peak flavor. The buds should be harvested while they are still tight and before the petals begin to open. A good indicator of readiness is when the bud reaches the size of an apple, and the scales (petals) are still closed. The bud should feel firm, with a slight “give.”
To harvest, use a sharp knife or shears to cut the stem of the artichoke about 1-2 inches below the bud. Be sure to leave a portion of the stem attached, as this can help prolong the artichoke’s freshness if you need to start using it. After the primary central bud is harvested, smaller side buds will develop, which can also be picked using the same criteria for readiness.
After harvesting, artichokes can be stored in the refrigerator for up to a week. However, after picking them, consuming them as soon as possible is ideal for the best taste and texture.
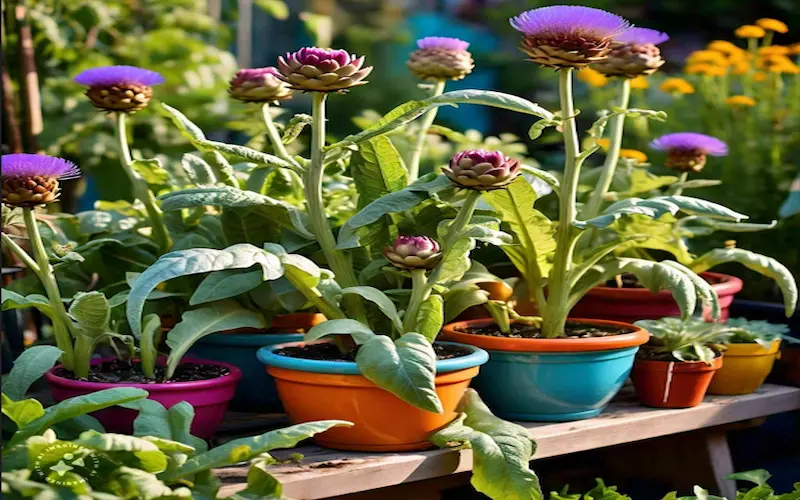
Growing Artichokes in Containers
Growing artichokes in containers is an excellent option for those with limited garden space or unsuitable soil conditions. When selecting a container, choose one at least 24 inches in diameter and depth to accommodate the plant’s extensive root system. Ensure the container has adequate drainage holes to prevent waterlogging.
Fill the container with a high-quality potting mix, and follow the same planting and care guidelines for garden-grown artichokes. Containers may require frequent watering, as the soil can dry out faster than in-ground beds. Additionally, monitor nutrient levels closely, as container-grown plants can quickly exhaust available nutrients. Regular feeding with a balanced liquid fertilizer will support healthy growth.
Be mindful of the container’s weight, especially once the plant has matured. Artichokes can become quite large, and when combined with the weight of the soil and water, the container may be challenging to move. Consider using a pot with casters or placing it on a plant caddy to facilitate necessary movement.
Troubleshooting Common Artichoke Plant Problems
While artichokes are relatively hardy, they can encounter issues that affect their growth and yield. Common problems include yellowing leaves, stunted growth, and bud rot. Yellowing leaves can indicate a nutrient deficiency or water imbalance, often remedied by adjusting fertilization and watering practices.
Stunted growth may be due to inadequate sunlight, poor soil conditions, or competition from weeds. Ensure your artichokes receive enough sunlight and the soil is rich and well-drained. Regular weeding will also help your plants thrive.
Bud rot is often a result of too much moisture, either from overwatering or excessive rainfall. If necessary, improve drainage and shelter the plants to protect them from prolonged wet conditions.
Pest and disease issues should be addressed promptly, using organic control measures whenever possible. Maintaining healthy plants through proper care is the best defense against these challenges.
Frequently Asked Questions About Growing Artichokes
Growing artichokes can raise many questions, especially for those new to the process. Common questions include how long it takes for artichokes to grow, whether they can be grown from the chokes themselves, and what to do with the plants after harvesting.
Artichokes generally take about 150-180 days to mature from seed, although this can vary depending on the variety and growing conditions. It is possible to propagate artichokes from the chokes, but this method is less reliable than growing from seed or division.
After harvesting, if the plants are perennials in your area, cut them back to encourage new growth for the next season. The plants can be removed after production has ceased in places where they are grown annually.
Conclusion
Growing artichokes from seeds is a rewarding journey for any gardener. The process is filled with learning and fulfillment, from the initial planting of the seeds to the joy of harvesting your artichokes. With this step-by-step guide, you are equipped to embark on the journey of nurturing these magnificent plants to fruition.
And remember, if you have any questions or need further guidance on how to plant artichoke seeds, don’t hesitate to reach out to experienced gardeners or your local cooperative extension for advice and support. Happy gardening!


- Be Respectful
- Stay Relevant
- Stay Positive
- True Feedback
- Encourage Discussion
- Avoid Spamming
- No Fake News
- Don't Copy-Paste
- No Personal Attacks
- Be Respectful
- Stay Relevant
- Stay Positive
- True Feedback
- Encourage Discussion
- Avoid Spamming
- No Fake News
- Don't Copy-Paste
- No Personal Attacks
