A Step-by-Step Guide on How to Grow Kohlrabi Plants
Published: 26 May 2024
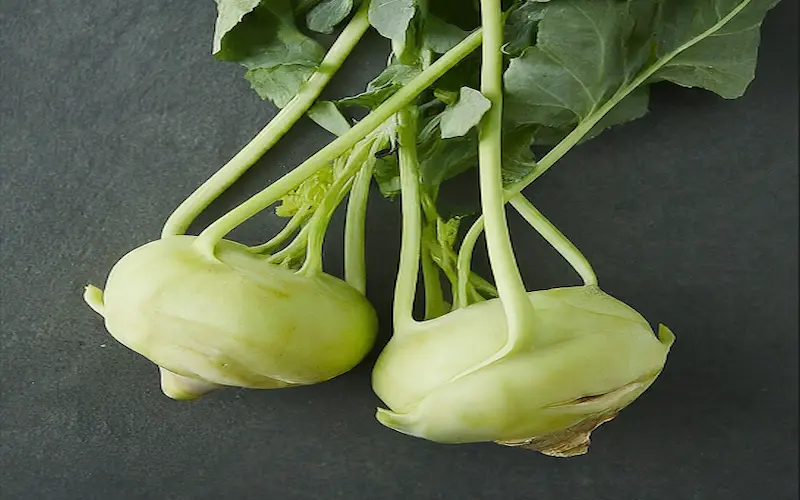
Kohlrabi is called a German turnip. It is a vegetable from the Brassica family, sharing kinship with cabbage, broccoli, and cauliflower. It’s a hardy biennial grown annually, prized for its bulbous stem. It tastes between a turnip and a water chestnut, with a sweet and slightly peppery flavor.
Its alien-like appearance, sputnik-shaped stem, and extraterrestrial-looking shoots intrigued my culinary curiosity. Kohlrabi is versatile in the kitchen and packed with nutrients such as vitamin C, potassium, and fiber.
Growing kohlrabi is rewarding and challenging, especially for beginners. It requires a certain level of attention to soil conditions, watering, and pest management. I will guide you through every necessary step, ensuring that even novices can enjoy a bountiful harvest.
Understanding the Different Varieties of Kohlrabi
As with many vegetables, kohlrabi comes in various cultivars, each with unique characteristics. The two most common color varieties are green and purple. The flesh inside is usually a creamy white. ‘Early White Vienna’ is a popular green variety known for its tender texture and mild flavor.
Purple Vienna has a more pronounced taste and provides a colorful accent to the garden. My journey with kohlrabi varieties began with ‘Gigante,’ renowned for its ability to grow large without becoming woody. Another variety that caught my eye was ‘Kossak,’ which offers an extended storage life, making it a practical choice for winter consumption.
When choosing a variety, consider your garden’s climate and available space. Some varieties mature quickly, making them ideal for areas with a short growing season. Others may be more heat—or cold-tolerant. Try several different types to see which thrives best in your conditions and suits your taste.
Choosing the Right Location for Growing Kohlrabi
Kohlrabi is not particularly fussy about where it grows, but it does have some preferences. It thrives in full sun but can tolerate partial shade, which may slow its growth. The perfect location for growing kohlrabi is an area that receives at least six hours of sunlight daily.
Good air circulation is also crucial for kohlrabi. When I first began growing it, I made the mistake of planting it too close to other crops, leading to poor air circulation and disease issues. Now, I ensure ample space between my kohlrabi and other plants.
Another critical factor in location selection is proximity to water. Kohlrabi needs consistent moisture, so I positioned my beds within reach of my irrigation system. This convenience has made it much easier to keep my plants hydrated without overwatering, which can be just as detrimental as drought.
Preparing the Soil for Planting Kohlrabi
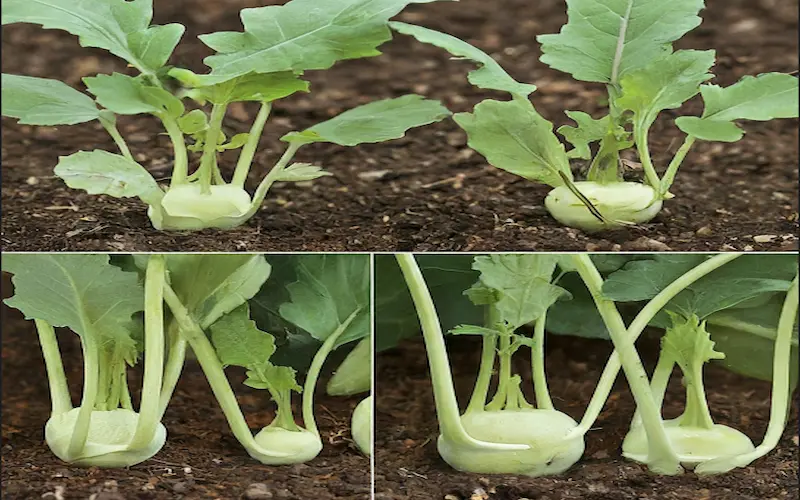
Soil preparation is key to the success of any vegetable, and kohlrabi is no exception. This crop prefers well-drained soil rich in organic matter, with a pH of 6.0 to 7.5. I worked plenty of compost into the soil to achieve these conditions before planting. This improved the soil structure and provided essential nutrients for the plants.
I also conducted a soil test to determine the pH and nutrient levels, allowing me to adjust accordingly. If the soil was too acidic, I added garden lime to raise the pH. If it was too alkaline, I incorporated sulfur to lower the pH.
Before sowing or transplanting seedlings, I ensured the soil was loosened to a depth of at least 12 inches. This encourages the kohlrabi to develop its distinctive bulbous shape without obstruction. I also formed raised beds, which further ensured proper drainage and made it easier to manage my crops.
Planting Kohlrabi Seeds or Seedlings
Timing is very important to planting kohlrabi. Starting seeds indoors about 4-6 weeks before the last expected frost gave my plants a head start. I used biodegradable pots to minimize transplant shock and planted the seeds about 1/4 inch deep into the soil.
If direct seeding outdoors, I waited until the soil could be worked in the spring. I sowed the seeds about 1/2 inch deep and thinned the seedlings to 5 inches apart once they had a couple of true leaves. I counted backward from the first expected frost date for fall crops and planted accordingly.
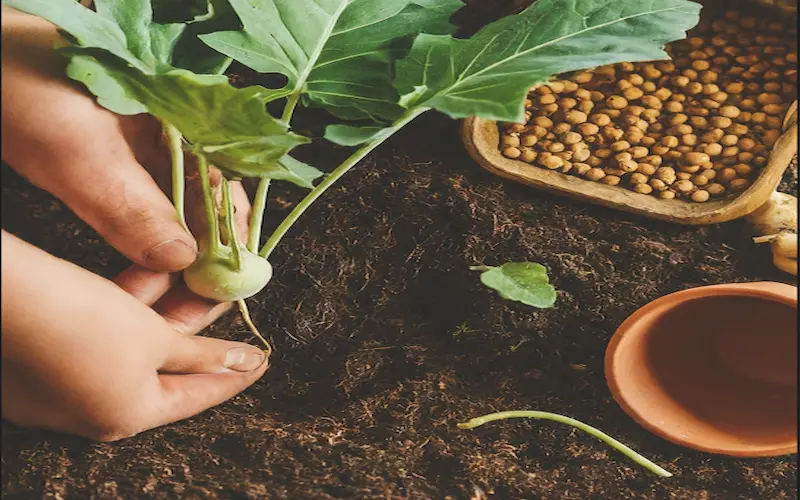
When transplanting seedlings, I carefully harden them off by gradually exposing them to outdoor conditions. I then planted them at the same depth they were growing in their pots, spacing them about 6 inches apart in rows 12 to 18 inches apart. This allowed each kohlrabi plant enough room to grow and prevented competition for nutrients and water.
Proper Watering and Fertilization Techniques for Kohlrabi
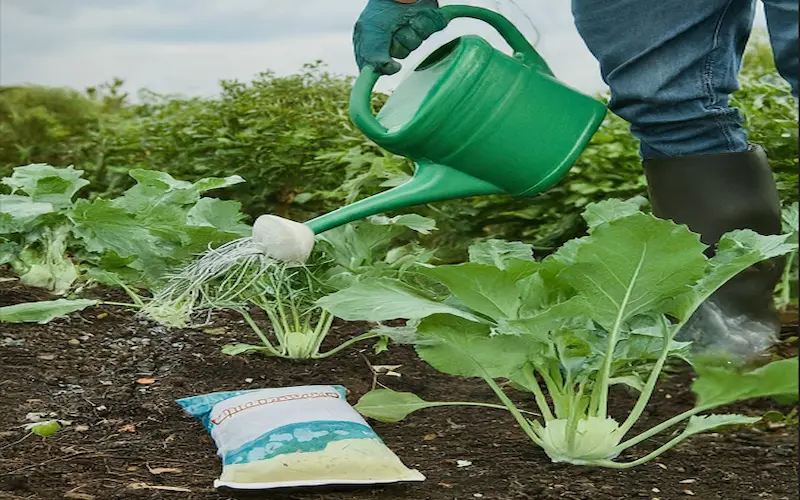
Consistent watering is critical for kohlrabi to develop its characteristic bulb. The soil should be kept evenly moist but not soggy. I installed a drip irrigation system, which provided a steady water supply directly to the roots and minimized leaf wetness, reducing the risk of disease.
I opted for a balanced approach. I used an all-purpose organic fertilizer at planting time and then side-dressed with compost or a high-nitrogen fertilizer a few weeks later to support foliage growth. Over-fertilization, especially with nitrogen, can lead to excessive leaf growth at the expense of the bulb, so moderation is key.
I also mulched around my kohlrabi plants with straw or shredded leaves to retain soil moisture, suppress weeds, and regulate soil temperature. This practice reduced the watering needed and kept the soil in optimal condition for growth.
Managing Pests and Diseases in Kohlrabi Plants
Like any garden crop, kohlrabi can be prey to pests and diseases. I encountered aphids and cabbage worms, which I managed through regular inspections and prompt hand removal. I applied neem oil or insecticidal soap for organic control, effectively curbing pest populations without harming beneficial insects.
Diseases such as clubroot and downy mildew affect kohlrabi. To avoid these issues, I practiced crop rotation, avoiding planting kohlrabi or other Brassicas in the same spot year after year. Good sanitation, such as removing plant debris and avoiding working in the garden when plants are wet, also helped prevent the spread of disease.
In my experience, a healthy plant is the best defense against pests and diseases. By providing optimal growing conditions and promptly addressing any issues, I minimized the impact of these challenges on my kohlrabi crop.
When to Harvest and Storing Kohlrabi
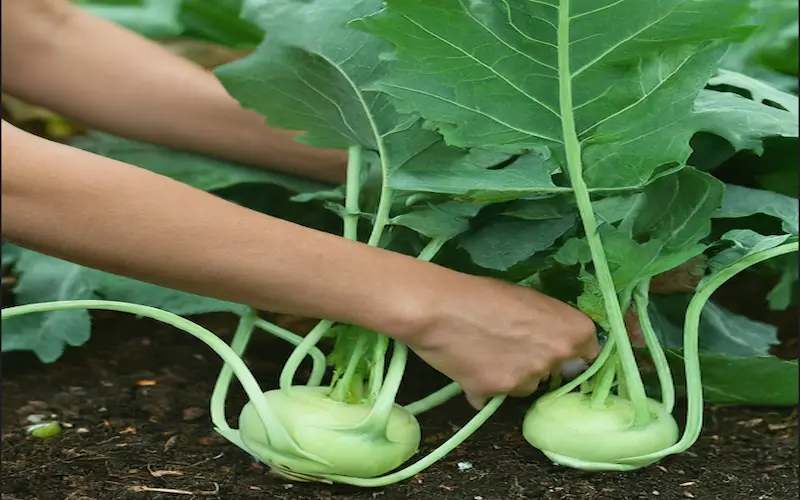
Harvesting kohlrabi at the right time ensures the best flavor and texture. The bulbs are most tender and tasty when they are 2 to 3 inches long. To harvest, I grasp the bulb’s base and twist it off the root or use a sharp knife to cut it from the stem.
After harvesting, I remove the leaves and store the bulbs in the refrigerator, which can last several weeks. If I have an abundant harvest, I also blanch and freeze kohlrabi for longer storage. It’s important to remember that larger bulbs can become woody and less flavorful, so timely harvesting is crucial for the best culinary experience.
Related Questions and Answers
Kohlrabi is a cool-season crop that can be planted in late spring or early summer. Once planted, it usually matures in 30 to 60 days and can be harvested from July to September. If you’re looking for an ongoing supply, it’s a good idea to plant a second crop of kohlrabi in mid-summer.
Conclusion and Final Tips for Successful Kohlrabi Cultivation
Growing kohlrabi is a delightful addition to any garden. By following the steps outlined in this guide, you’ll be well on your way to mastering the art of cultivating this unique vegetable. Remember to choose the right location, prepare the soil properly, plant at the correct time, provide consistent water and nutrients, manage pests and diseases proactively, and harvest at the peak of ripeness.
My final tip for successful kohlrabi cultivation is to keep a garden journal. Documenting when you plant, how the plants progress, any issues that arise, and when you harvest can provide invaluable information for future growing seasons. With patience and care, you’ll be rewarded with a bountiful harvest of kohlrabi and the satisfaction of having grown it yourself. Happy gardening!

- Be Respectful
- Stay Relevant
- Stay Positive
- True Feedback
- Encourage Discussion
- Avoid Spamming
- No Fake News
- Don't Copy-Paste
- No Personal Attacks


- Be Respectful
- Stay Relevant
- Stay Positive
- True Feedback
- Encourage Discussion
- Avoid Spamming
- No Fake News
- Don't Copy-Paste
- No Personal Attacks
